Wall-Mounted Folding Workbench: Making Room in a Florida Garage
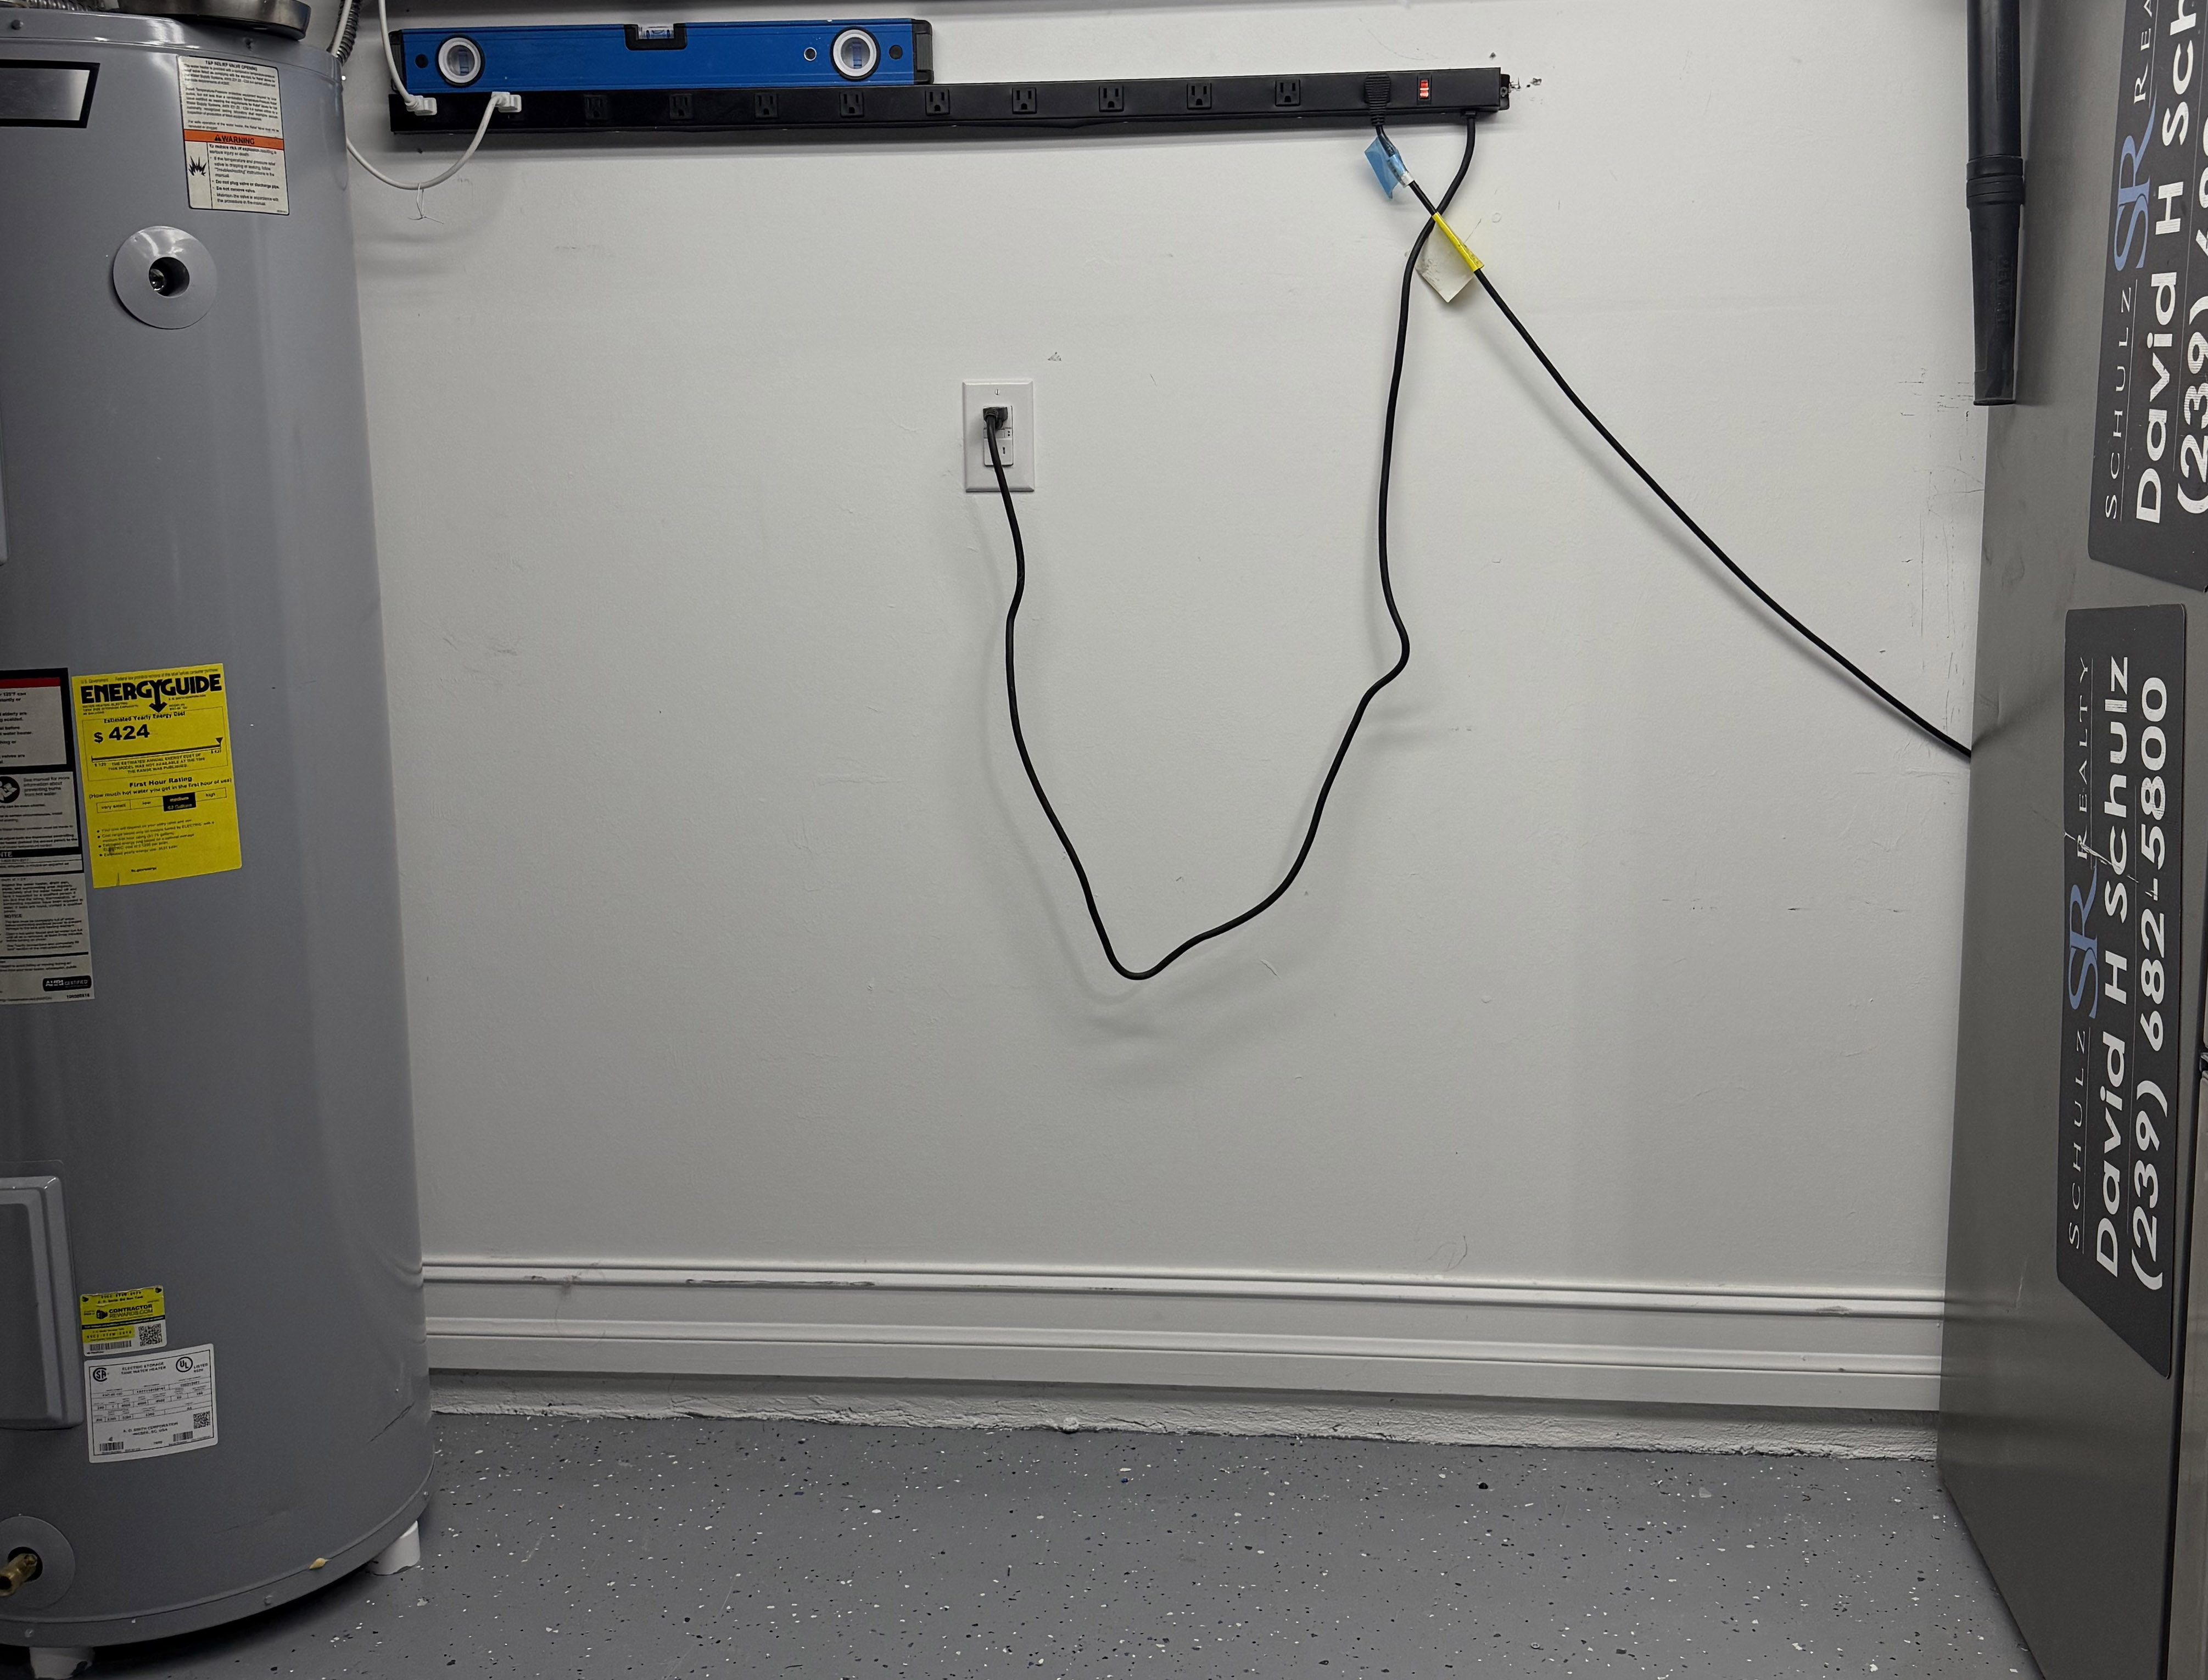 Space is tight in most Florida garages, mine included. This wall-mounted folding workbench is my solution to reclaim floor area without giving up a solid work surface. I’m starting the build now and will add photos, tips, and a full cut list as I go—this page will grow into a simple, follow-along guide you can use in your own garage.
Hi, I’m David Schulz. I was a licensed professional real estate inspector in Texas and Michigan, which taught me to look closely at how homes are built and how they age. I’m not a licensed general contractor—just a hands-on homeowner who’s always looking for practical ways to improve my home and share those ideas with you. As I work through this wall-mounted folding workbench project, I’ll document what works, what I’d tweak, and how you can adapt it for your space.
Why this design shines
Fold-down benches deliver real rigidity without eating up floor space. A wall cleat lagged into studs supports a piano hinge along the back edge, while locking folding legs carry the load at the front. With common lumber and basic tools, most DIYers can finish this build in an afternoon.
Tools & materials checklist
- 2×4 studs (4–6 pieces, 8′)
- 3/4″ plywood or solid-core door (bench top)
- 48–60″ piano hinge (continuous hinge)
- Locking folding leg brackets (2)
- Lag screws + washers (5/16″ × 4″) for studs
- 3″ construction screws; 1-1/4″ wood screws
- Optional: leveling feet with T-nuts; polyurethane or oil-wax finish
Cut list (two popular sizes)
Resize easily: for depth D, cut side aprons and cross braces to D − 3″ (two 2×4 thicknesses). Leg length equals bench height − top thickness.
| Part | Qty | 48″×24″ bench | 60″×30″ bench |
|---|---|---|---|
| Top (3/4″) | 1 | 24″ × 48″ | 30″ × 60″ |
| Front/Rear aprons (2×4) | 2 | 48″ | 60″ |
| Side aprons (2×4) | 2 | 21″ | 27″ |
| Cross braces (2×4) | 2 | 21″ | 27″ |
| Wall cleat (2×4) | 1 | 48″ | 60″ |
| Legs (2×4) | 2 | 33-1/4″ (for 34″ height) | 35-1/4″ (for 36″ height) |
| Leg stretcher (2×4) | 1 | 45″ | 57″ |
Build overview
- Assemble the frame: join front/rear/side aprons; add two cross braces about 16″ on center.
- Fasten the top with pilot holes and countersinks for clean, flush screws.
- Set the wall cleat dead-level and lag it into studs at the correct elevation.
- Attach the piano hinge between the cleat and the rear apron/top.
- Install folding leg brackets, trim legs to height, and add a stretcher ~18″ above the floor.
- Test the fold-down action; fine-tune leg length and add optional leveling feet.
- Sand and seal the work surface for durability and easy cleanup.
Questions or ready to get started?
For friendly advice on Naples luxury, resort, and waterfront living—or to talk shop about this build—reach out anytime.
Have ideas for future posts?
I’d love to hear what projects or Naples topics you want covered next. Send your ideas directly to me and I’ll add them to the list.
Explore Naples Real Estate
Browse our most-requested Naples lifestyle guides and communities.